Make a 3D printed topographic map of any place
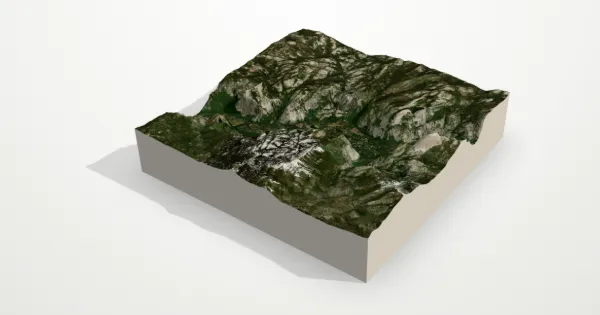
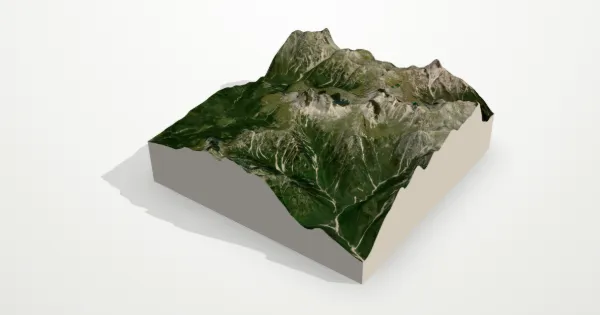
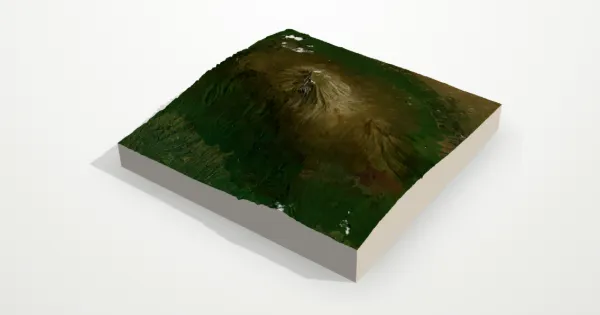
Frame a mountain, a valley or a stretch of coast, and Tiny Topo turns real elevation data into a watertight STL or 3MF, sized in millimetres for your printer. Your first STL each month is free.
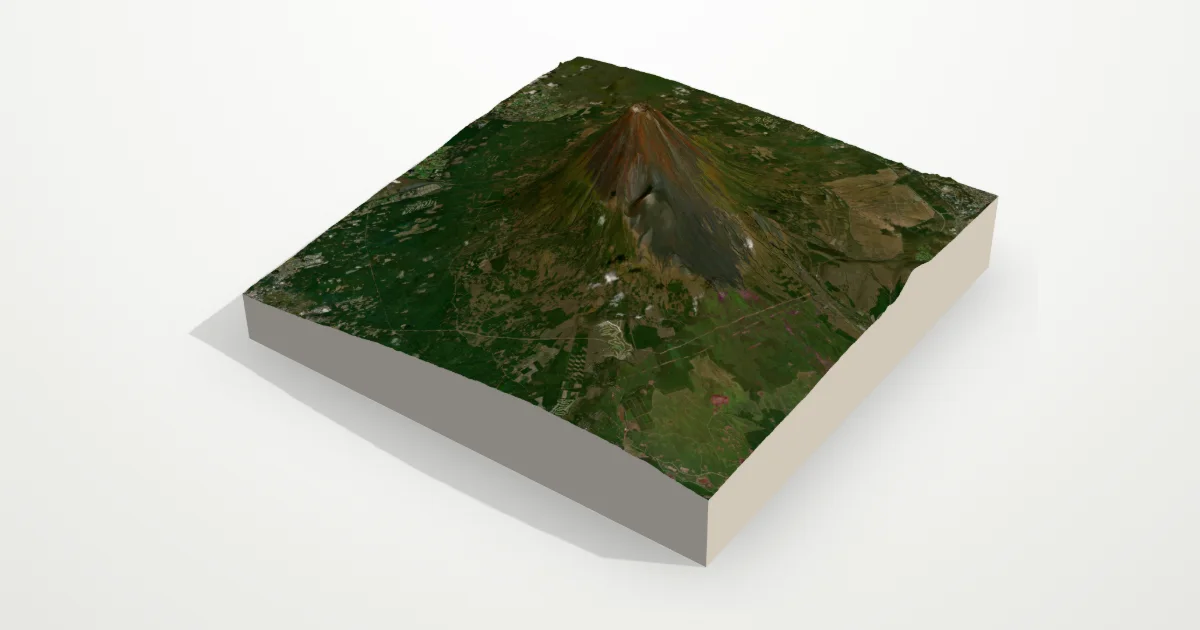
From a map to your print bed
Frame the place
Search for a mountain, canyon or town, or drag the map. Anything from 400 m to 250 km across.
Shape the model
Set the height, the base and a square or round shape. The 3D preview shows exactly what you will print.
Download and slice
Choose the width in millimetres and download an STL or 3MF: a clean solid that slices without repairs.
What you get
- A watertight solid in real millimetres. No holes and no flipped faces, so it slices straight away.
- Any width from 20 to 1,200 mm. The height follows the terrain and the exaggeration you choose.
- Tiles for small printers. Split a big print into 2 × 2, 3 × 3 or 4 × 4 pieces that line up edge to edge.
- A base with words. Free models carry “tinytopo.com” underneath; on Pro and Maker you engrave two lines of your own: a name, a date, a summit.
- Detail that fits your nozzle. Standard is great up to about 15 cm. High detail (Pro, Maker or a Print Pack) follows a 0.2, 0.4 or 0.6 mm nozzle for crisp ridges on bigger prints.
- STL or 3MF. STL works in every slicer. 3MF (Pro, Maker or a Print Pack) keeps units and names for Bambu Studio, PrusaSlicer, OrcaSlicer and Cura.
Print settings that work
| Layer height | 0.12–0.16 mm brings out the contours. |
|---|---|
| Orientation | Base on the bed, no supports: terrain never overhangs. |
| Filament | A matte filament shows the relief best. |
| Height | 1.5–3× for most places; steep mountains need less. |
| Base | 3–5 mm keeps the print sturdy. |
| Detail | Standard up to about 15 cm across; High detail for bigger prints. |
Colour by height
For a multicolour print (green valleys, grey rock, white peaks), change filament at set heights. The print dialog shows the scale (for example 1 mm = 40 m), so the height of any elevation on your print is easy to work out:
Height on the print = base + (elevation − lowest point) × exaggeration ÷ metres per mm
At 1 mm = 40 m and 1.5× height with a 5 mm base, a snow line 1,200 m above the lowest point sits 5 + 1,200 × 1.5 ÷ 40 = 50 mm up the print. Add a filament change (or an AMS colour change) at that layer in your slicer.
Questions
Can I print any place?
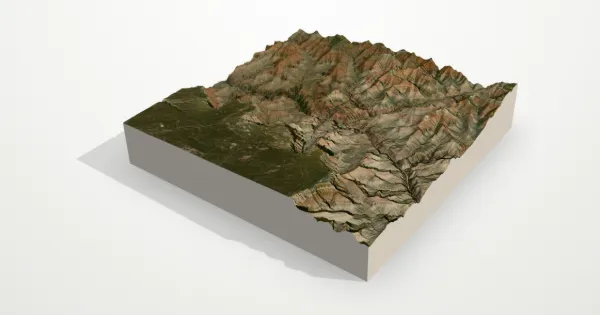
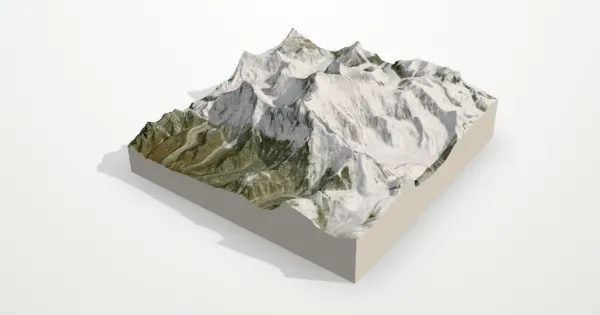
Yes: any frame from 400 m to 250 km across, anywhere on Earth. Mountains, canyons, volcanoes and coastlines print best; flat places come alive at 2–3× height.
How accurate is the terrain?
It comes from open elevation data (Terrain Tiles, built from SRTM, national surveys and more): about 30 m per sample in most of the world and finer where national lidar exists. Plenty for a desk-sized print of a mountain or a valley.
STL or 3MF?
STL works in every slicer and comes with every plan. 3MF keeps units and names, and comes with Pro, Maker or a Print Pack.
Does it need supports?
No. Print it base-down on the bed: terrain only rises from the base, so nothing overhangs.
What does it cost?
Your first STL each month is free at Standard detail. Pro is $5 a month for 25 downloads with High detail, 3MF and your own text, and a Print Pack is $6 for 5 downloads with no subscription. See pricing.
Ready to print a mountain?
Frame it, check it in 3D and download your first STL for free.
Start a 3D print